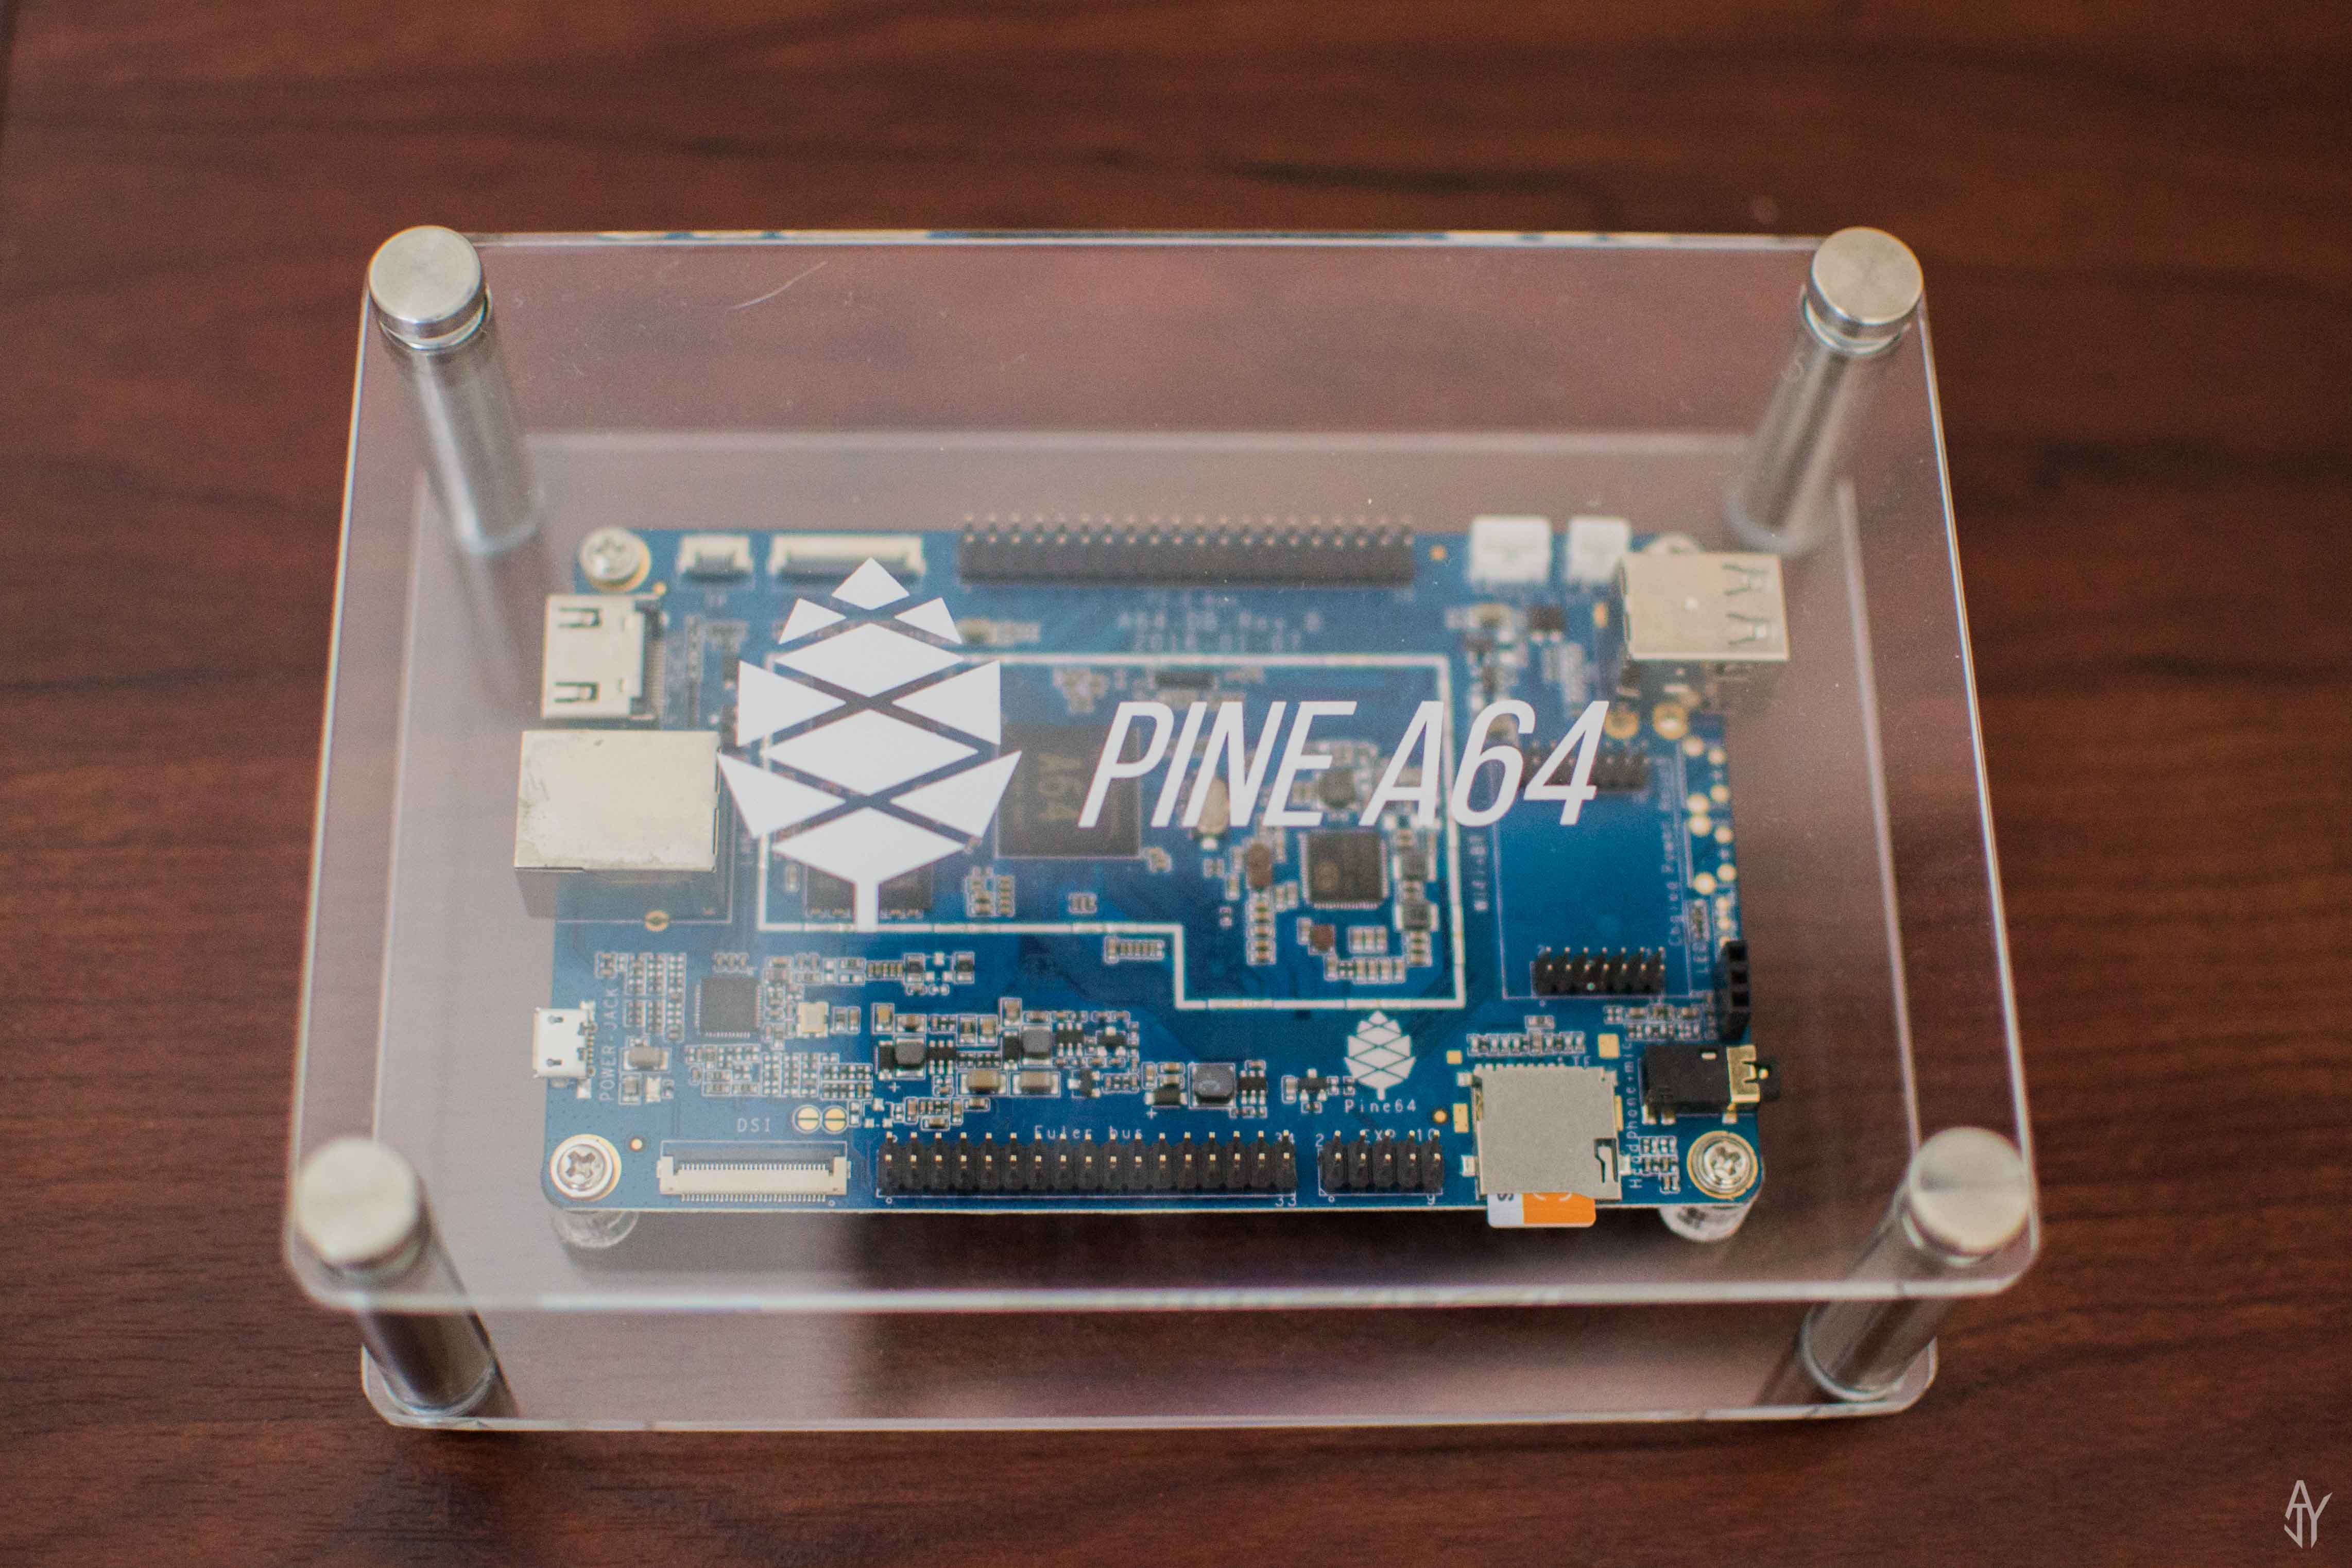
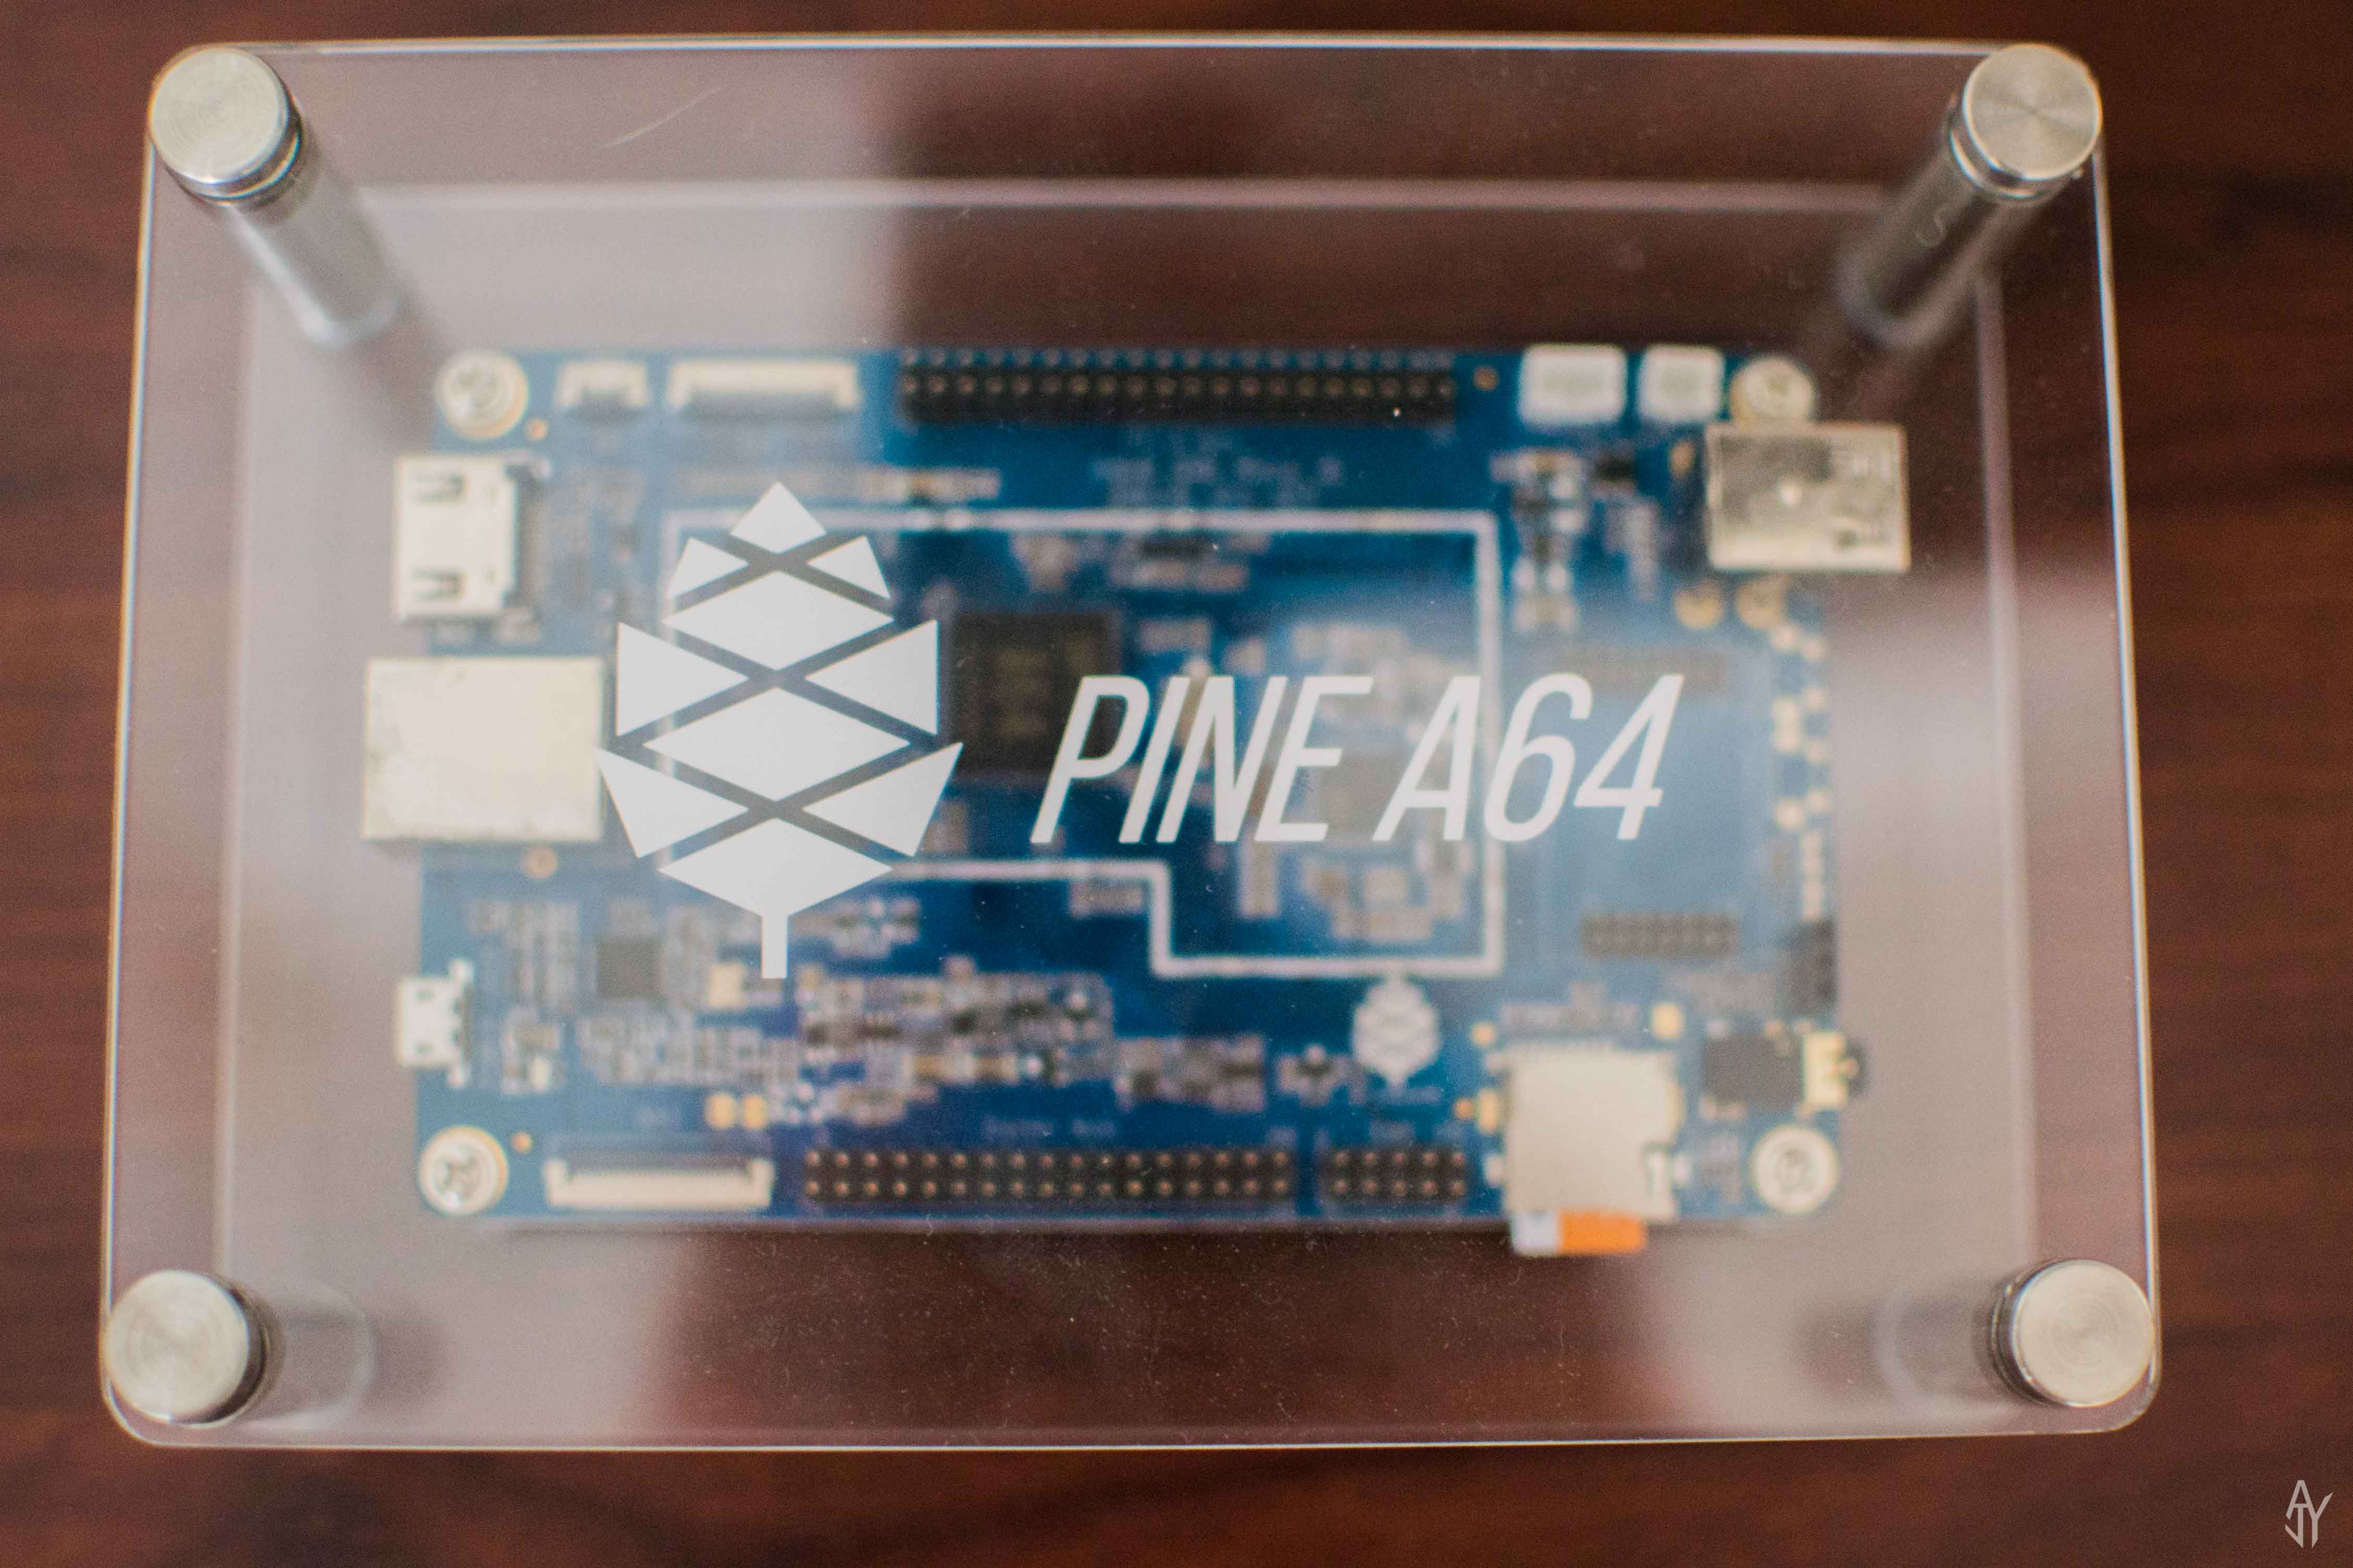
What is a pine64?
On January 1st of this year I backed the pine64 project on Kickstarter. The short blurb about the pine64 from their page is:
PINE A64 is the world's first 64-bit expandable Quad Core 1.2Ghz supercomputer, tablet, media center, and more... starting at just $15.

I already have a Raspberry Pi B+ from September 2014, which has 256 MB of RAM. I wanted to replace it with one of the new ones with 1 GB of RAM, but I don't really need two Raspberry Pi's floating around. This gave me the perfect opportunity to get another small computer, for even cheaper, with the full 1 GB of RAM.
First Steps
The pine64 runs off of a microSD card similar to the way the Raspberry Pi does. So first I had to get an image to put on the 32 GB microSD card I had. There's already a wiki set up for the pine64 and one of the pages has a list of resources for images. I ended up picking a Debian image that someone had already set up with a username and password for an account "debian". Normally I run Ubuntu but I was thinking that this could be a good chance to try out a new flavor of Linux that isn't too different.
My day to day computer is a MacBook Pro so the next steps will be specific to OS X, but are easily adaptable to Linux. Once you have downloaded the image you need to find out what the microSD card is listed as on your system. To do this I ran diskutil list. This gives you a list of all of the drives on your computer. It came up as /dev/disk2 it should appear as /dev/diskN with N being a number. You should be able to tell which drive it is by the size listed in the output of that command. After that you need to unmount that drive. This is because we want to format that image to the drive, which can't happen when the drive is mounted for use. You can unmount with the command diskutil unmountDisk /dev/disk2 where 2 is the number of your disk. Finally we can format the card. Run this command with the image file name after if= and your appropriate disk number for of=/dev/disk2.
sudo dd bs=1m if=pine64-image-debianmate-310101bsp.img of=/dev/disk2This took a little bit of time for me since the microSD card speed through a SD card adapter is pretty slow.
Debian
Now for the fun part
When I first started up the pine64 I had it plugged into my TV with a keyboard, but no mouse. I relied on the Ctrl+Alt+T that you can do in Ubuntu to open a terminal, turns out that isn't standard in debian. Oh well, after button mashing for a bit I figured out that Alt+F1 opens the "Start Menu", for lack of a better term. From there I could open the Gnome Terminal. I also noticed I could use GParted rather than just editing the fstab to mount my data portion of the SD card. Unfortunately this just led me down the rabbit hole of not just resizing the partition to start with. All because I missed the line on the wiki that said:
Execute resize_rootfs.sh script to resize the root partition in order to fully utilize the SD Card
I instead ran through fdisk and all the interactive steps of that. I won't go through that here because it was pointless when you could have just run resize_rootfs.sh.
In order to really make my pine64 headless I needed to make sure I had the ip address set up and ssh working. It turns out ssh was already working so I didn't have to do anything for that, but I also found out quickly that ifconfig is not a default command in Debian. I had to run ip a to get the ip address for the box. From there I could use the same steps from my Raspberry Config to set up the static IP address.
# Primary Ethernet
auto eth0
iface eth0 inet static  # was dhcp
   address 192.168.1.108
   netmask 255.255.255.0
   gateway 192.168.1.1
As with some other linux boxes I have setup, I couldn't get apt-get update to work because of DNS issues. All you have to do to fix that is add nameserver 8.8.8.8 (one of google's DNSs) to your /etc/resolv.conf.
With that set up I now have a proper headless box. There were a couple other aesthetic changes I wanted to make on the server though. I wanted to change my username as well as the hostname of the box. To change the username you actually need to be logged out of the user that you want to change (at least if you want the home directory to change and everything to work nicely). To do this I could have ssh-ed as root, but didn't really want to open that route up, or made a new user that I could log into just to make this change. I elected for the latter, making a temp user just for this reason. Once logged in as the temp user (that has sudo privileges) I ran sudo usermod -l yknot debian and to change the home directory sudo usermod -m -d /home/yknot yknot. The last step to get the user all squared away was to change my password. That can be changed by just running passwd as the user for which you want to change the password.
Changing the hostname is a much easier task. You just need to edit two files and run a script to make the changes permanent. To edit the files just run nano /etc/hostname and nano /etc/hosts. In those files you just need to replace your old hostname with your desired hostname. Then to have the changes take effect run /etc/init.d/hostname.sh start. These commands will likely have to be run with sudo to work. To check that this worked run hostname as any user to check that the hostname.
While changing the username and hostname I also realized that the box was on UTC instead of EST (or EDT as it is currently). This is another quick edit just run cp /usr/share/zoneinfo/America/New_York /etc/localtime, swapping in your timezone for New_York. After this I was finally content with the base setup of the system and could focus on getting Time Machine working.
Time Machine
Or how to google until it works

Just like the Raspberry Pi, the pine64 can't drive enough power to the usb ports to power an external hard drive. At least the hard drives that don't have their own power supply. To fix this I got a usb hub from Amazon that is powered. This gave me more ports and allows me to power external hard drives. After plugging in the hub and the hard drive it still wasn't showing up when I ran fdisk -l. To make it show up I had to restart the pine64. After being able to mount it I wanted to make it mount on start up.
To make the drive auto mount I just need to add it to the fstab. Since the drive could change from /dev/sda to /dev/sdb anytime the pine64 boots I want a more definitive way to identify the drive. I did this by using ls /dev/disk/by-id/ then using that path in the fstab. After adding that to the fstab this is what it looked like.
# UNCONFIGURED FSTAB FOR BASE SYSTEM
# <file system> <dir> <type> <options>      <dump> <pass>
/dev/mmcblk0p1  /boot   vfat  defaults           0      2
/dev/mmcblk0p2  /       ext4  defaults,noatime   0      1
/dev/disk/by-id/usb-WD_My_Passport_0740_5758423145413145584E4B36-0:0-part2 /mnt/AJY exfat nosuid,nodev,nofail,x-gvfs-show 0 0
After adding the drive to the fstab I needed to check that it was properly configured. You can do this by restarting the whole machine or by just running sudo mount -a. Once the drive is in place you now have to set up the system so that your Mac knows it can use it for time machine backups. First step is to install a bunch of dependencies. Just copy and paste this to apt-get all the different libraries.
sudo apt-get install build-essential devscripts debhelper cdbs autotools-dev dh-buildinfo libdb-dev libwrap0-dev libpam0g-dev libcups2-dev libkrb5-dev libltdl3-dev libgcrypt11-dev libcrack2-dev libavahi-client-dev libldap2-dev libacl1-dev libevent-dev d-shlibs dh-systemd avahi-daemon libc6-dev libnss-mdnsThe last think you will need is netatalk. This isn't available easily through apt-get, but I found cloning and installing this one from github worked. Just run the following commands.
git clone https://github.com/adiknoth/netatalk-debian
cd netatalk-debian
debuild -b -uc -us
cd ..
# then run dpkg on two of the deb files this created
# (where * is the version number)
sudo dpkg -i libatalk16_*_amd64.deb
sudo dpkg -i netatalk_*_amd64.deb
Now that everything is installed you need to make the folder on your hard drive that will store the time machine backups. To make this whole process easier you can just make a new user with that folder as their home directory. This makes it easier to set up access to the folder for your Mac to use. Run these commands to make the directory and make sure it is owned by your user. I had to reformat my hard drive to ext4 because it was exFAT which doesn't support the permissions settings I needed.
sudo adduser --home /mnt/AJY/timeMachine timemachineajy
sudo chown -R timemachineajy:timemachineajy /mnt/AJY/timeMachine
Next edit the configuration file for Apple Filing Protocol (AFP). These are the settings of how your computer sees drives that can be used for time machine. Just run sudo emacs /etc/netatalk/afp.conf and add these lines to the end of the file. The 'vol size limit' parameter controls how much your Mac will think is available. For instance I have a 1 Tb drive but I wanted to limit my time machine backups to only 300 Gb.
[TimeMachine]
; is this machine a time machine?
time machine = yes
; directory for time machine data on server
path = /mnt/AJY/timeMachine
; the max size of the data folder (in Mb)
vol size limit = 300000
; users with access to time machine
valid users = timemachineajy
Finally start the service that makes these AFP devices available. This is basically what an AirPort Time Capsule or similar device does, but now running on your own linux box!
sudo systemctl enable netatalk.service
sudo systemctl start netatalk.service
sudo systemctl enable avahi-daemon.service
sudo systemctl start avahi-daemon.service
The last step that you might need to run to see the back up disk is to run this command on your Mac run to allow "unsupported" or non-Apple time machine devices defaults write com.apple.systempreferences TMShowUnsupportedNetworkVolumes 1. After this you should be able to see the drive showing up on your Backup Disks list and then you can connect with the user name and password that you made for the AFP settings.
Plex
By far the easiest part
Even though this was the easiest part there was some difficulty because the official linux debian version you can install from apt-get install --no-install-recommends plexmediaserver-installer doesn't work for the pine64. This is because the architecture for the pine64 is ARM64 versus x86 like most full computer systems.
sudo su -
wget -O - https://dev2day.de/pms/dev2day-pms.gpg.key | apt-key add -
echo "deb https://dev2day.de/pms/ jessie main" >/etc/apt/sources.list.d/pms.list
dpkg --add-architecture armhf
sudo apt-get install apt-transport-https
apt-get update
apt-get install binutils:armhf
After that you just need to download the .deb file and install it with the following commands.
wget https://dev2day.de/pms/pool/main/p/plexmediaserver-installer/plexmediaserver-installer_0.9.16.6.1993-5089475-1~jessie_armhf.deb
sudo dpkg -i plexmediaserver-installer_0.9.16.6.1993-5089475-1~jessie_armhf.deb
Finally everything is setup and running! I had to mess with some settings in the GUI, but that is really dependent on your personal setup.

Resources
Disk Space
how-to-resize-ext4-root-partition-live-without-umount
why-are-partition-size-and-df-output-different
Time Machine
debian-linux-server-mac-os-time-machine-backups-how-to
create-a-timemachine-backup-storage-on-the-raspberry-pi/
ubuntu-as-mac-file-server-and-time-machine-volume/
Time Zone
changing-the-time-zone-in-linux-command-line/
Plex
forum.pine64.org
how-do-i-fix-a-e-the-method-driver-usr-lib-apt-methods-http-could-not-be-found